INTRODUCTION AND OBJECTIVES
The first time I heard about Unreal Engine was when version 5.0 was released with the matrix demo.
Since then, I've always wanted to learn how to use it. Then, after making a 3D scene in Blender of the forest of the Deer God in "Princess Mononoke", I set myself the challenge of making all the locations in the movie on Unreal Engine.
This project, which started several months ago now, I carried out in my spare time only. I had two objectives: to improve my skills on Blender and Substance, and to master Unreal Engine 5 for the creation of open worlds that could be explored in real time.
Both objectives were largely achieved, even if I did come up against a wall, which was time.
I'm aware that this project isn't very clean or very beautiful, but I didn't want to render the most beautiful and the most optimized, I just wanted to understand and get closer to a correct result.


FEATURES
This is an open-world project with no loading times. You can move through Ashitaka's character, who can walk, run, jump, climb, swim and ride his steed Yakul, which can also move.
Grass and bushes react to your presence.
The day-night cycle lasts several minutes each, and lighting is dynamic too.
The sound environment is linked to the film, and each zone of the world is filled with the sounds of your passage, of nature and also of the film's music.
SHADER AND WATER RENDERING RESEARCH
For this anime or toon shader effect, I was mainly inspired by what PrismaticaDev, Reality Adrift Studio and MattAspland had done on Youtube.
I really did a lot of testing with different shaders in my postprocess before settling on this one.
I also manually added a fog effect to maintain a minimum of realism and depth.
For water, it's a mix of several shaders I found on the Internet, including PrismaticaDev on Youtube and Joshua Weinberg on Artstation.
Overall, this shader is very heavy and not overly beautiful in my opinion; it could really be improved both visually and in terms of optimization.


MODELING
For modeling, I did almost everything by hand in Blender. Whether rocks, bushes, grass, houses or giant trees, everything was sculpted by myself.
I mainly used the sculpting interface in Blender, as well as a few "modifiers" to speed up production.
Only the basic trees were made using TreeIt.
The Ashitaka character was modeled using the Unreal Engine 5 mannequin as a base. I then modeled over it to keep the same proportions. The clothing simulation was entirely done in Unreal Engine, but I modeled it beforehand in Blender.
Yakul and the little white men were modeled from A to Z by myself in Blender.
TEXTURES
Most of the complex textures were created in Substance Painter. UV unfolding was already done in Blender.
The house and wall textures were made using a mix of materials already present in Substance by default, with pictures that I modified myself in Photoshop.
I didn't use height maps at all, just normal maps where necessary.
For the rest of the simple textures, I used Unreal Engine5's "materials" system.
For the leaves of trees and bushes, I used a gradient system to give more depth to the landscape.
As for the sky, it's a simple skybox that I modified in Photoshop, and using the existing Blueprint I created a day-night system based on a specific duration.


CHARACTER AND OBJECT ANIMATIONS
For animated objects such as those in the Forge, I created all the animations manually in Blender.
For the kodamas, I created a single animation in Blender, which I then exported to Unreal Engine.
Finally, for Yakul and Ashitaka, I used Unreal Engine's blueprint animation system to create the locomotion system.
All Yakul's animations were made by myself in Blender, while for Ashitaka, I used Mixamo and Unreal Engine's control rig to make his animations.
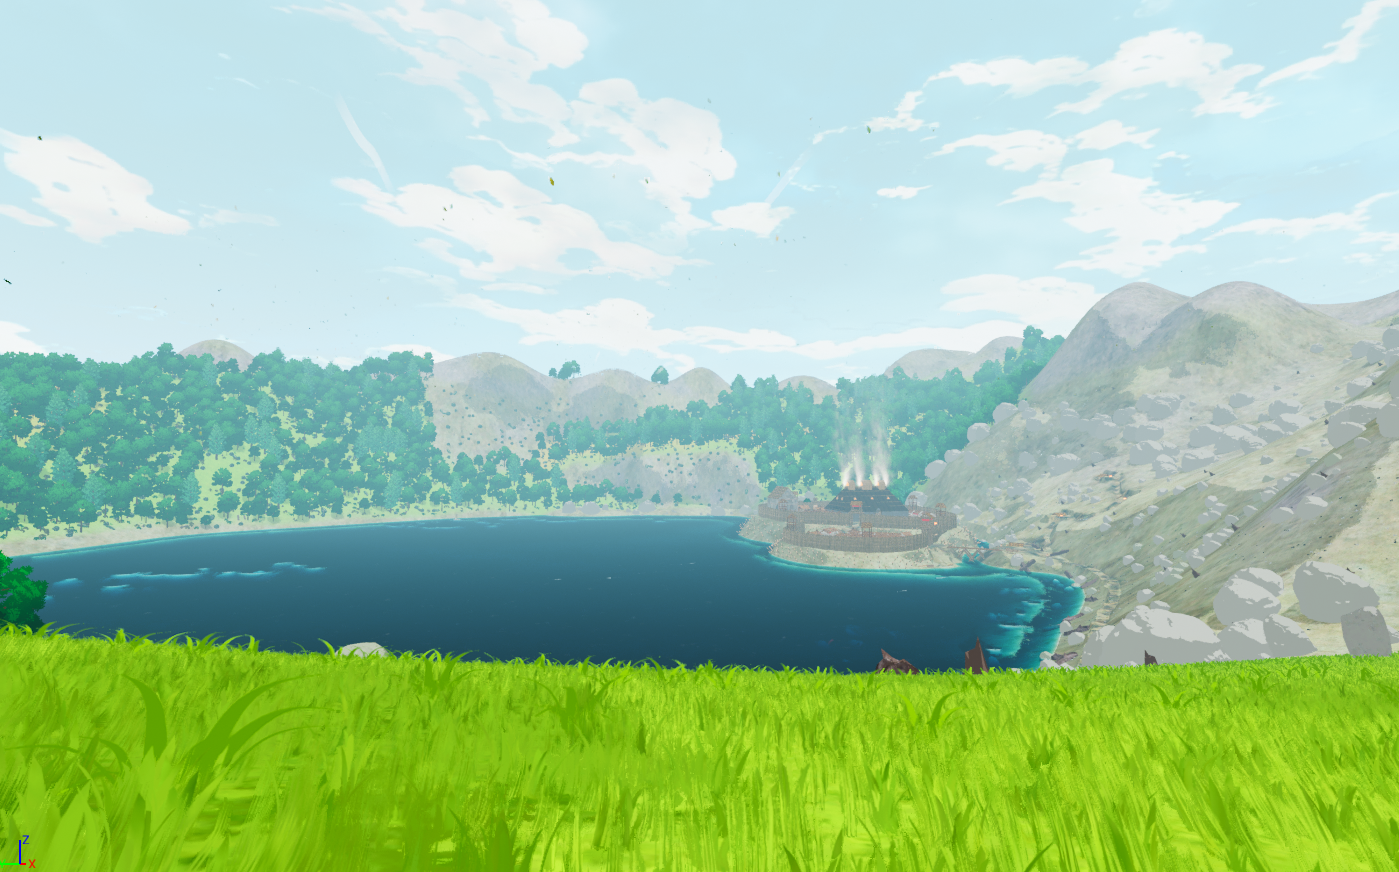
LANDSCAPES
Creating the landscape was one of my first tasks. I had to do a lot of research and analysis of the film to understand how I could create a landscape consistent with the film's direction. Even though there are a few inconsistencies between the film and the landscape, I tried to respect the whole.
To model it, I used Unreal Engine's Landscape tool, and then sculpted each region with custom heighmaps to give more relief and detail.
Cloud shadows are present on the ground thanks to a shader implemented in the "Directional Light" that represents the sun. As a result, the shadow moves in real time and at the desired speed.
Finally, I used the RVT (Runtime Virtual texture) system to generate and modify ground texture more easily, as well as grass texture.


FOLIAGE
Using Volume foliage and foliage in general saved me a lot of time.
I wanted to use the new Procedural Content Generation tool, but soon found that it wasn't optimized enough, so I preferred to use Volume foliage with its instance system.
All the drills are in fact giant foliage volumes that I generated over the entire map. I was careful not to make them too large, so that they would generate well with the World Partition system.
The biggest problem I encountered here was with the tree leaves, which are actually simple planes with an alpha texture on them. But I have the impression that alpha textures are really heavy for the computer.
REALTIME VFX
For the realtime VFX, I simply used the Unreal Engine 5 tool, Niagara, as well as some free resources available in the software and in the marketplace.
The VFX is generally quite discreet, as I didn't want to make the project even heavier.
The problem I encountered was with the post-process I was using, which could render certain textures transparent. So I came up with a number of solutions to deal with this problem.

OPTIMIZATIONS
Optimization is probably the most time-consuming part of my work, and one that can still be improved.
My biggest problem here was that I didn't know Unreal Engine in depth before I started creating this world. So I could have started optimizing this project right from the start.
Here are the different optimization axes I used:
The LOD system and the reduction of triangles in each 3D object, to reduce the weight of these objects but also the weight of their collisions. I didn't use Nanite at all.
The distance culling system with volume foliage to generate 3D objects only when they were close enough to the player.
The LOD system, but applied to textures and the World Position Offset. The name speaks for itself: I simply set low-quality textures without WPO when they were far from the player.
The landscape's World Partition system. Each 3D object in the scene is linked to a data layer so that everything can be properly optimized.
CONCLUSIONS
This was a great exercise in learning Unreal Engine 5 software. Time and investment issues meant that this project took longer than I expected.
What's more, making it public forced me to make it even better and to look for ways to optimize it.
Even so, some of the mistakes I made at the start of the project out of ignorance of the software make it very difficult to improve it further.
It's really important to master this kind of tool before embarking on such huge projects.
In conclusion, this project really taught me a lot, not only about Unreal Engine 5 but about 3D in general.
As a result, my mastery of production speed as a whole has greatly increased, while at the same time I'm gradually gaining in quality.
